There are a lot of ways to insert PHP/Javascript snippets and custom CSS styles. In this article, however, we only guide you the most simple and easiest ways so that a common WordPress user can understand and follow.
Table of Contents
A. PHP
*Important: Adding a PHP snippet may break your site if it has a syntax error. Therefore, please follow our developers’ guide carefully whenever you try to add any PHP snippets.
Below are 2 most common ways to insert a PHP snippet:
1. Using a code snippets plugin. We highly recommend these 2 common plugins: Code Snippets or Insert PHP Code Snippet.
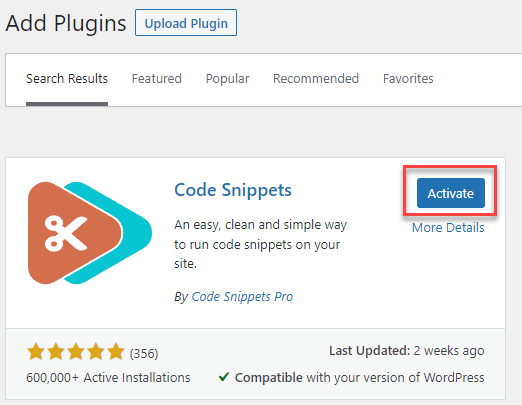
Step 1: Download and install the Code Snippets plugin
Go to Plugins > Add New, search for “Code Snippets“, click on Install and Activate.
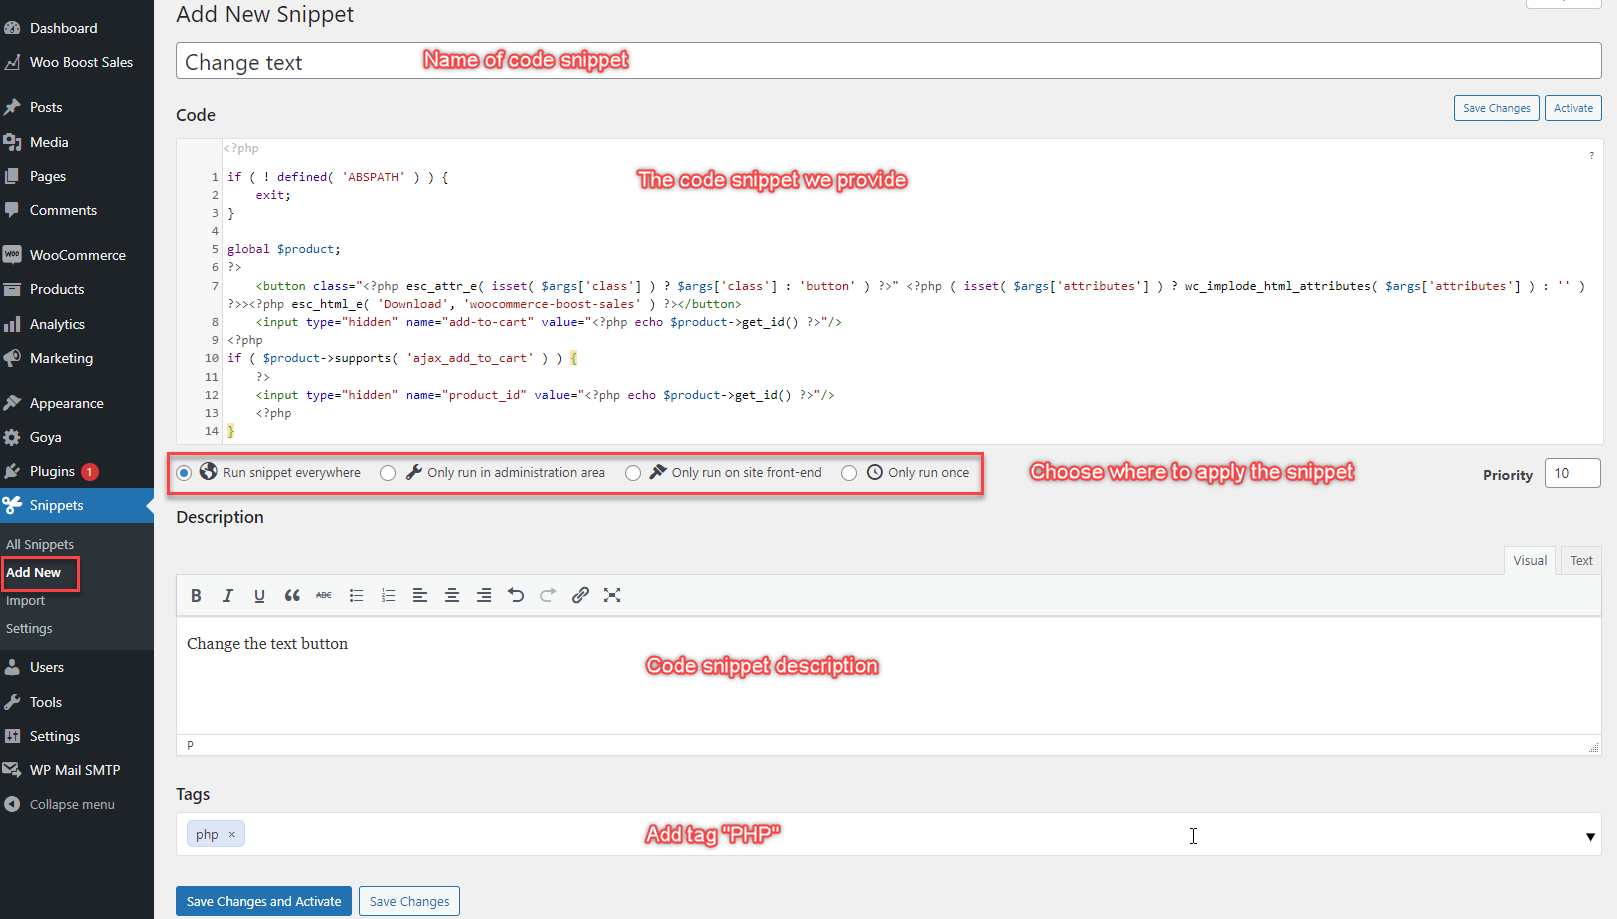
Step 2: Go to Snippets > Add new, add the code snippets we provided in the code area
2. Insert a PHP snippet to the functions file (functions.php) of the currently active theme.
The functions file (functions.php) is located in the root folder of the theme. When you update the theme, any theme files including functions.php will be overridden hence your snippets will be lost. Therefore, you should insert your snippets to the functions.php file of the child theme instead. If you do not have a child theme yet, please follow this guide to create one.
B. Javascript
To insert a custom JS snippet, the most simple way is to use a custom JS plugin. Simple Custom CSS and JS is the most popular one which allows you to add both custom css and js.
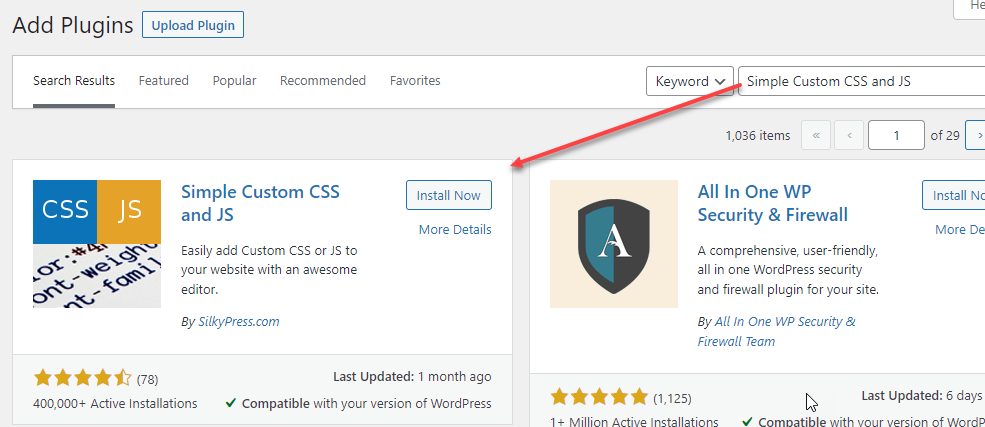
Step 1: Download and install the Simple Custom CSS and JS
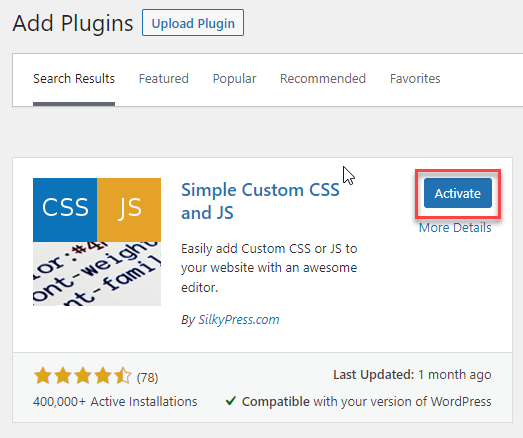
Go to Plugins > Add New, search for “Simple Custom CSS and JS“, click on Install and Activate.
Step 2: Go to Custom CSS & JS > Add Custom JS, add the Custom JS snippets we provided in the area
C. CSS
1. Custom css in the plugin settings (if any).
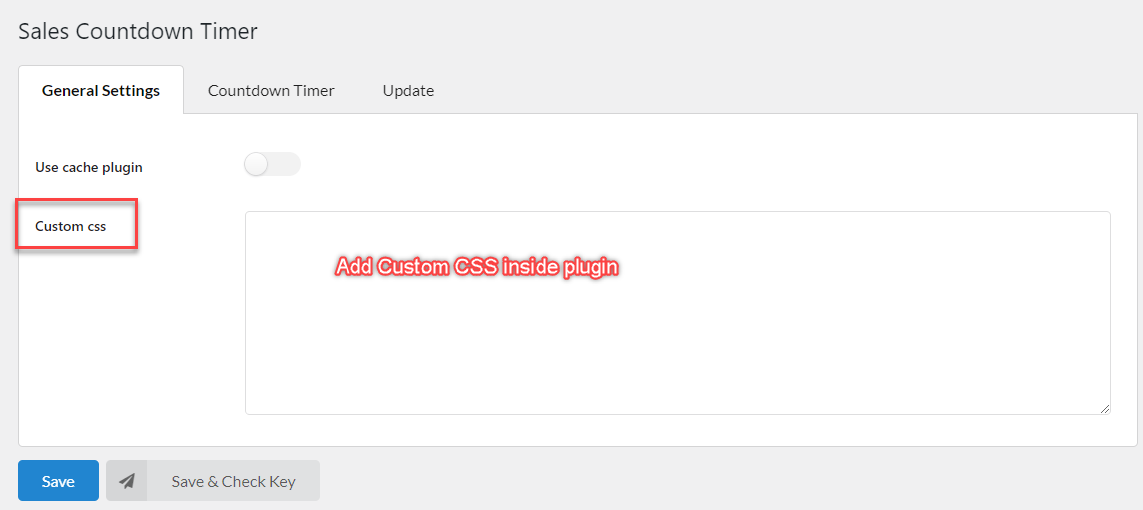
Built-in custom css field: for most of our plugins that run on the frontend, there is a custom css field of the General or Design tab of the plugin settings where you can insert any custom css styles that you want to apply to the frontend of the site.
Please do note that some plugins are designed to only work on the single product page(e.g WooCommerce Photo Reviews plugin) hence their built-in custom css field only works on the single product page. Therefore, if you need your custom css to run on other pages, please use other ways below.
2. Customize/Additional CSS.
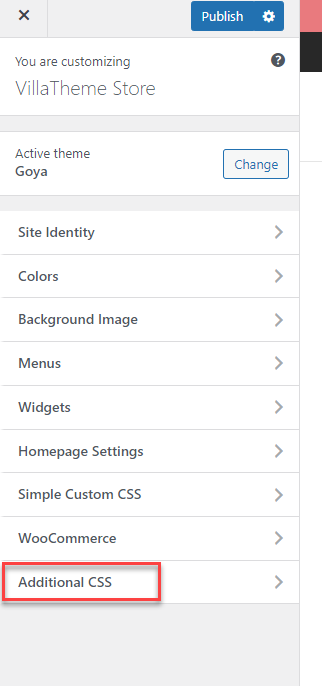
For plugins that do not have a custom css field, you can insert custom css to Customize/Additional CSS which is available for almost all themes.
3. Custom css plugin.
If none of these above work for you, you will have to install a custom css plugin for this task. Some popular custom css plugins are Simple Custom CSS Plugin, WP Add Custom CSS and Simple Custom CSS and JS
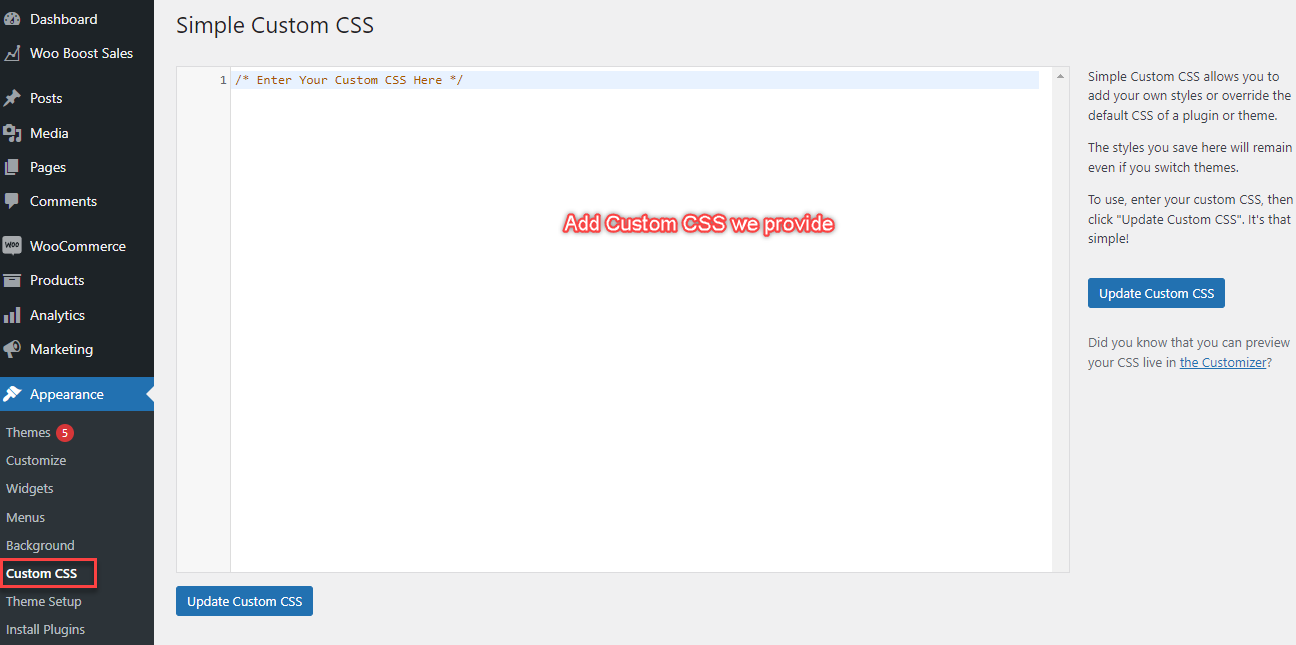
Step 1: Download and install the Simple Custom CSS
Go to Plugins > Add New, search for “Simple Custom CSS “, click on Install and Activate.
Step 2: Go to Custom CSS & JS > Add Custom JS, add the Custom CSS we provided in the area
3.2. Example with: Simple Custom CSS and JS
Step 1: Download and install the Simple Custom CSS and JS (Guided The Javascrip Section)
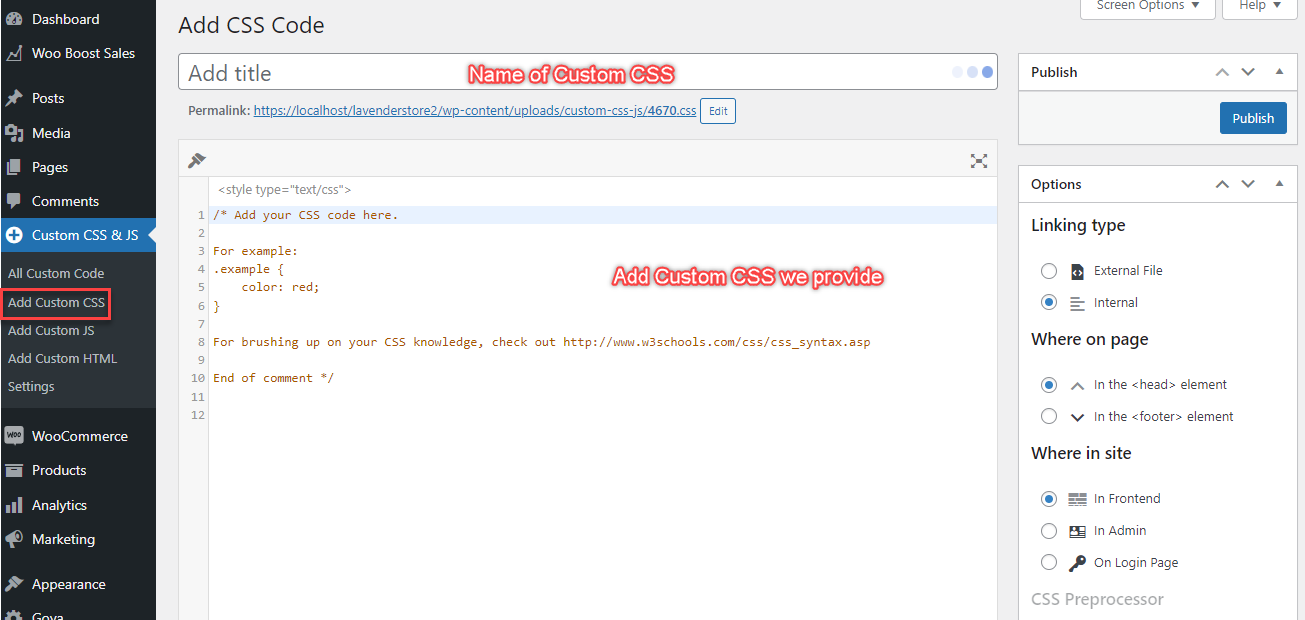
Step 2: Go to Custom CSS & JS > Add Custom CSS, then add the Custom CSS we provided in the area.

